Kim bap is the Korean version of sushi rolls. Personally, I'm not too adventurous when it comes to sushi and I like to stay away from raw fish, but I do like Kim bap. It took some time for me to learn to like the seaweed but now I really enjoy these rolls. Amazingly, our first born can't get enough of this stuff. He could probably eat at least half of this batch of Kim bap by himself, given the chance. None of our other boys care for this, though some of them do like to eat the seaweed sheets plain, strangely enough.

Making Kim bap involves a lot of steps, so let's get started.
Kim bap1.
RiceCook 2 1/2 cups of sticky (Asian, or short grain) rice. Traditionally, white rice is used, but we use brown so that we have the nutritional benefits and we also enjoy the more nutty flavor (our kids favor white but we don't cater to them on this matter). This should yield about 5 cups cooked. Cook the rice far enough in advance so that it has time to cool enough to handle but is still warm and fresh. Do not use rice that is cold because it is then too hard and dry to shape into the rolls. We usually cook the rice and then cook the Pulgogi and the soup (coming up next!). By then the rice is usually done, and we let it cool while we prepare the other Kim bap ingredients. Then we mix up the rice and assemble the Kim bap.
To the warm rice add:
3-4 Tablespoons rice vinegar
2-3 Tablespoons sugar
Combine until thoroughly blended, tasting and adding vinegar and sugar as needed, to obtain a mildly sweet and sour taste. Set aside.
2.
Pickled Vegetable1/3 daikon radish (can be found at Asian markets, but I've also seen it in some grocery stores--other veggies could also work well such as cucumber, zuchinni, or carrots)
vinegar to cover vegetable
1 Tablespoon sugar
Peel the radish and slice into long, thin strips. If you use cucumber, be sure to remove the seeds and then slice into strips. Place in a small bowl and pour enough vinegar to submerge cucumber. Add sugar and stir to combine. Set aside. (This could be done a day ahead.)
3.
MeatWe use the cooked
Pulgogi. Cut it into long, thin strips and set aside.
4.
CarrotsPeel and slice carrots into long, thin strips. Heat a large skillet on medium-high heat with a Tablespoon of olive oil. Stir-fry carrot strips until tender-crisp and remove from pan. Set aside.

5.
Eggs4 eggs
1-2 Tablespoons water
a few pinches of sea salt
Whisk above ingredients together and pour into a large, greased skillet (use the same one used for the carrots) that has been heated to medium heat. When eggs have set, flip entire circle to the other side (or flip a half at a time) and cook for another minute or two. Remove onto a cutting board and cut into strips. Set aside.

6.
Spinach10 oz fresh spinach
Boil a small pot of water. Using tongs or a slotted spoon, submerge spinach, a handful or two at a time, in boiling water for 10-30 seconds. Remove and drain on paper towels. Set aside.

7.
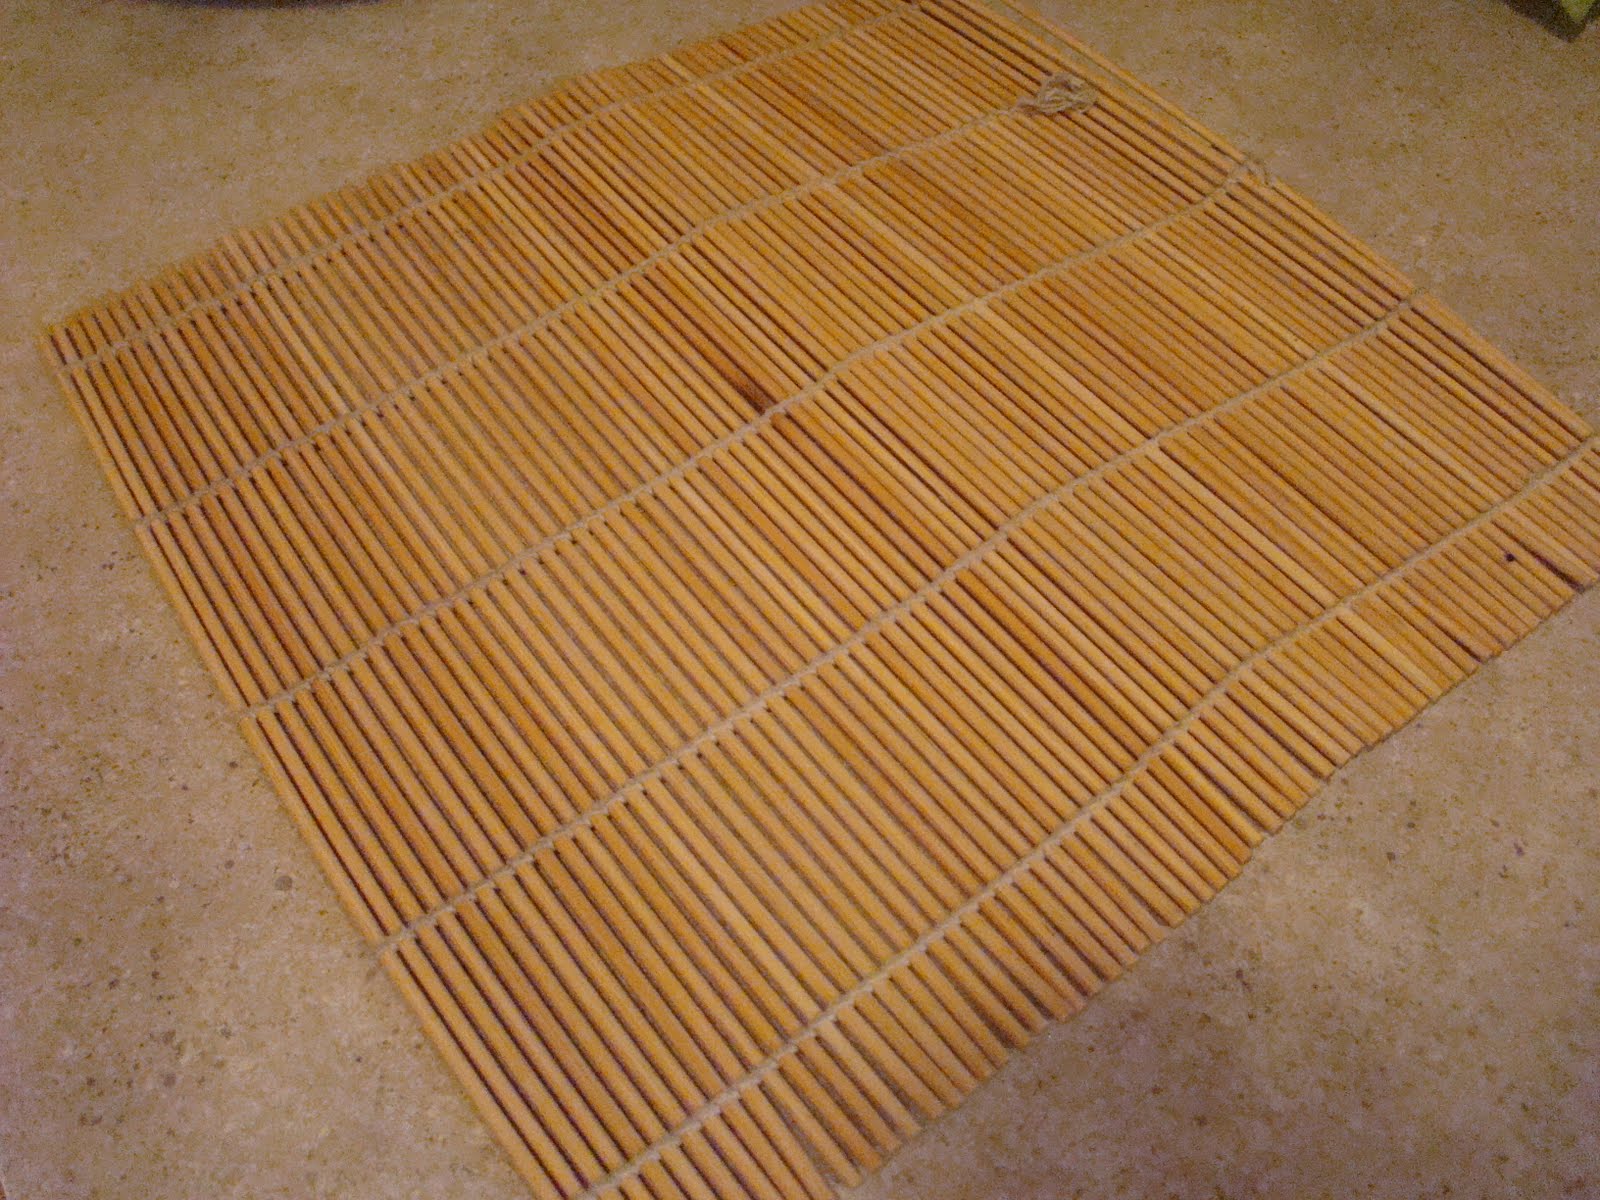
AssemblyTo make the rolls, a bamboo string roller makes things a lot easier. Place it on your work surface with the bamboo sticks running horizontal to you, and place all of the ingredients close by.

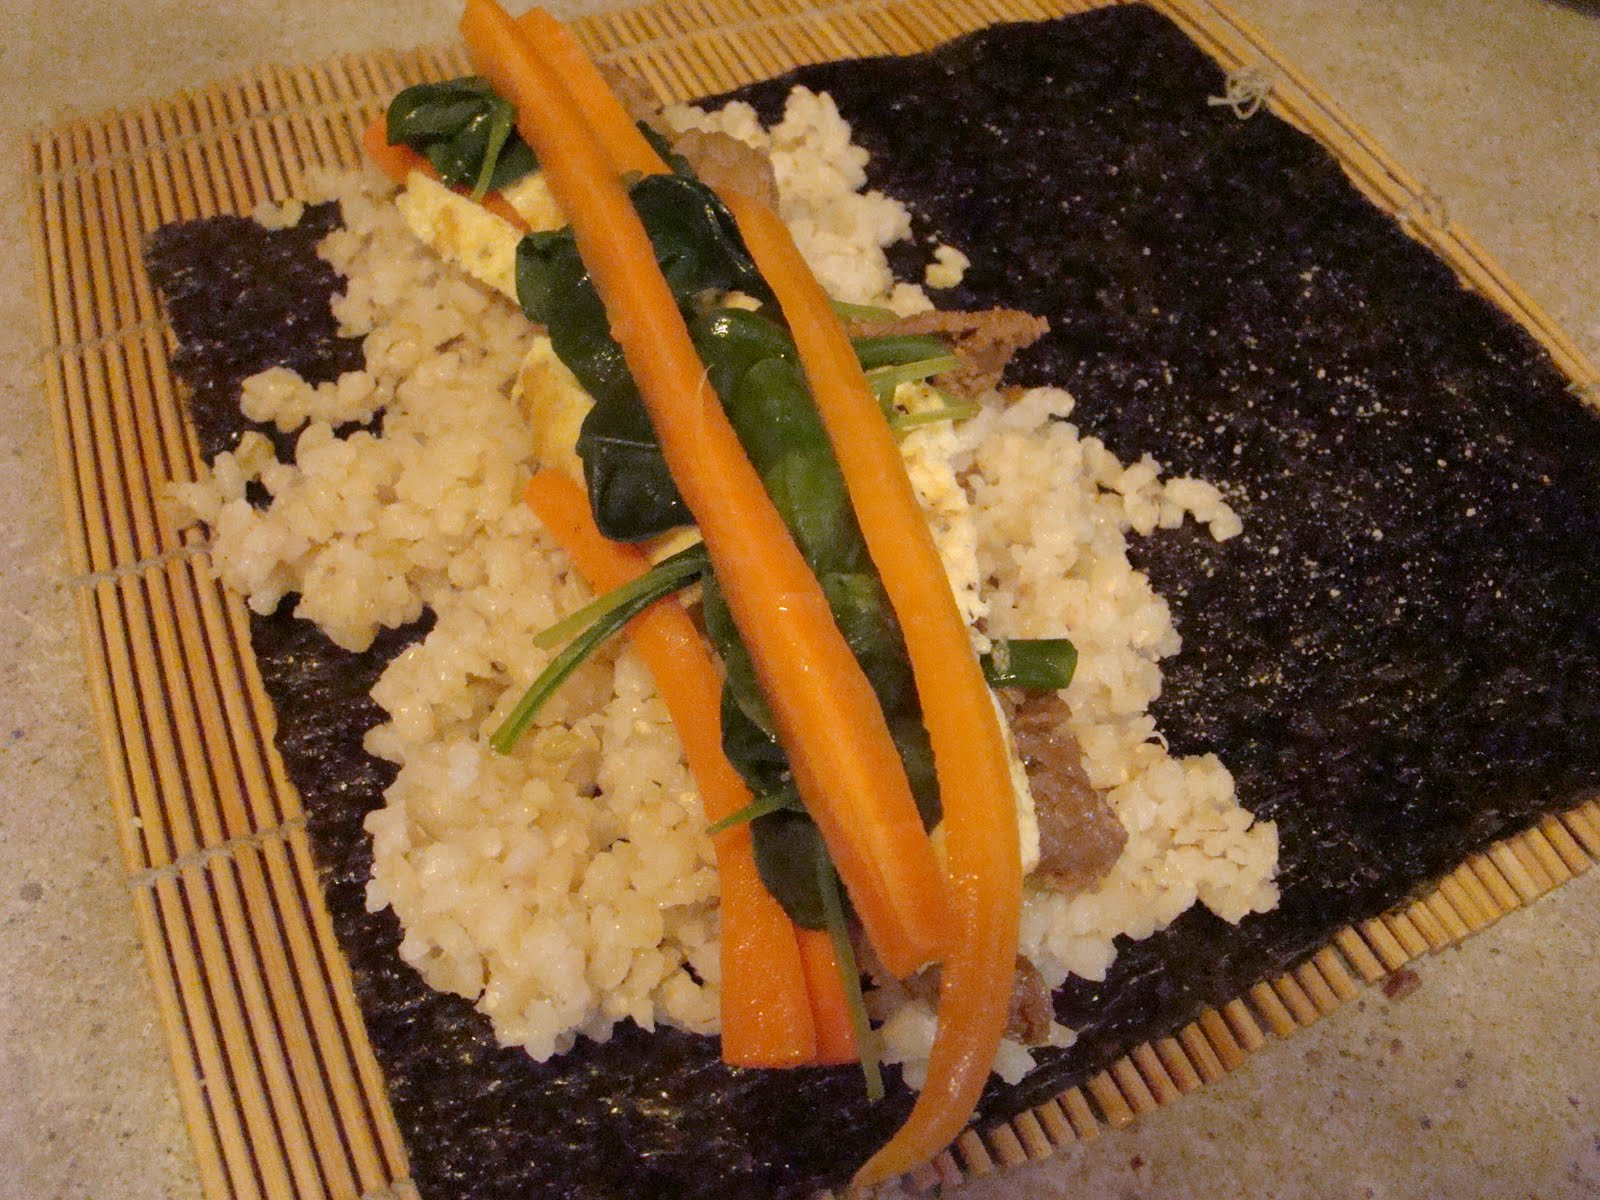
Place a sheet of roasted, dried seaweed onto the roller and sprinkle with sea salt.

Spread a layer of rice onto the side of the seaweed closest to you, covering slightly more than half of the sheet.

In the center of the rice layer, place strips of pickled vegetable, meat, carrot, egg, and spinach.

Pick up the edge of the roller that is closest to yourself and carefully fold over until the roller touches the other side of the seaweed. Press down firmly to compact the roll together. Do not allow the edge of the roller to fold under with the seaweed, but keep it on top. Dip your finger into the pickled vegetable juice and moisten the entire edge of the seaweed that is farthest away from yourself.

Continue to firmly roll until the seaweed is closed and the moistened seaweed edge is sticking to the side of the roll. The bamboo roller should make a U shape around the Kim bap and when finished rolling, just unfold the roller so it is flat again.

Remove the Kim bap log to a cutting board and, using a sharp serrated knife, cut into slices. Sample the unruly edge pieces and give the rest of them to the bottomless pit boy who wants nothing more than to eat Kim bap until he bursts asunder.

Place Kim bap slices onto a plate and sprinkle with toasted sesame seeds.

Then devour! If you don't have a bottomless pit boy who wants nothing more than to eat Kim bap until he bursts asunder, invite over the neighbors to help you out.
Makes around 3-4 dozen, but is quite variable depending on how much you stuff the rolls and how thick or thin that you slice them.